If you’re excited about purchasing a fiberglass pool from Imagine Pools, it’s important to understand the installation process. Here are the seven simple steps involved in installing your dream backyard pool:
1.) the big delivery
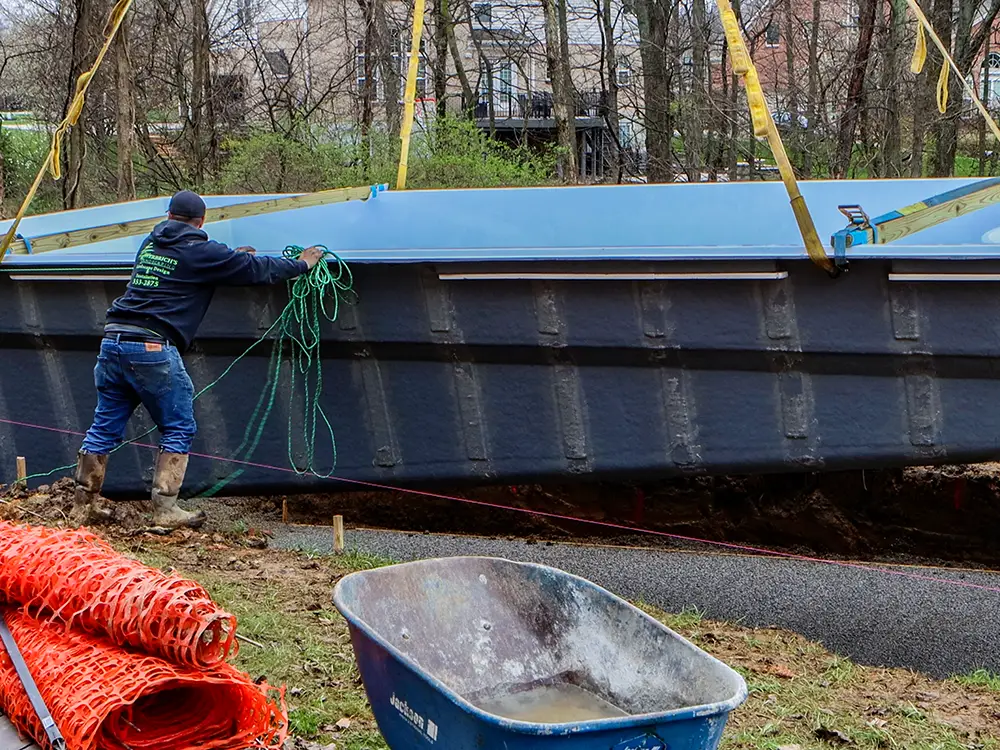
The installation process begins with the delivery of your fiberglass pool and filtration equipment. Your pool will arrive on a low trailer that is specifically designed for transporting swimming pool shells.
2.) pool placement planning
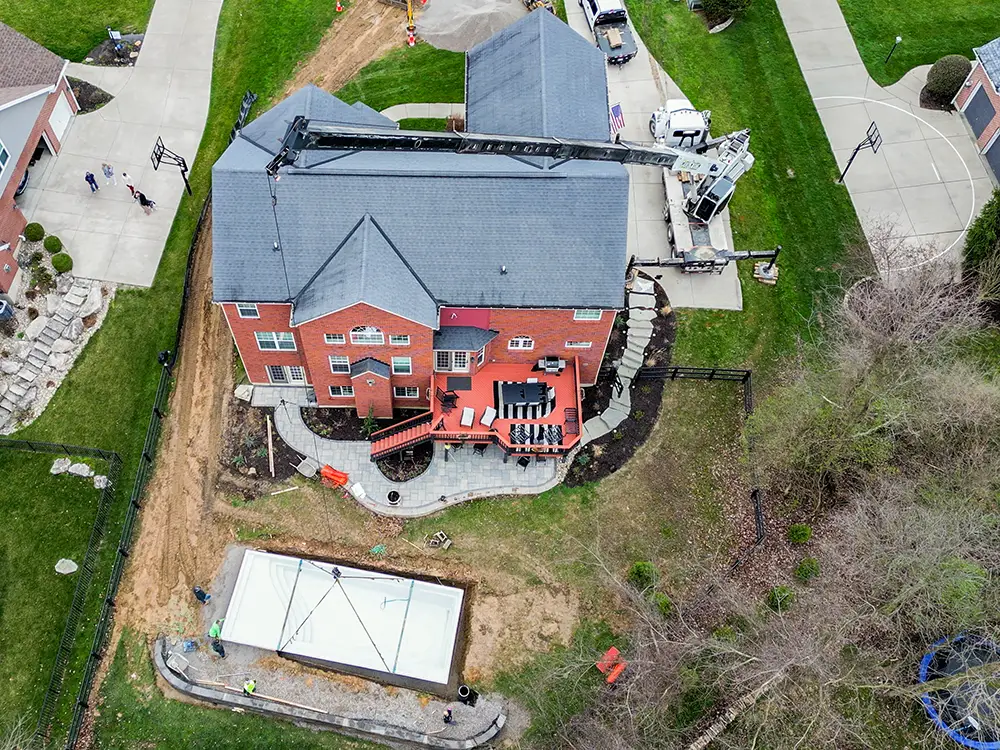
With your pool and equipment on-site, the installer will begin laying out the pool according to a dig sheet. This sheet is created from a 3D model of your pool and provides measurements for the hole where your pool will be placed. You’ll want to discuss placement and landscaping beforehand so that all considerations are made before excavation begins.

3.) excavation station
Once your pool layout is complete, excavation begins. The installer uses the dig sheet to check the levels of the hole as it is being dug. The sheet provides measurements for the length, width and depth, ensuring that your pool fits securely in the hole.
4.) base build-up
After your pool’s hole is dug, a bed of gravel is laid on the floor to create a base for your pool. The installer then sets up screed bars as guides for the slope to simplify this process.
5.) pool placement and plumbing work
The pool is first lifted into place by a crane. Then, the installer checks all levels to ensure that your pool is level and ready to be backfilled. Backfilling and plumbing work begin at this point, with gravel used as backfill material. Your pool is filled with water while it is being backfilled to provide equal pressure and stability. The installer will fit a skimmer box, install deep end suction fittings and return fittings. PVC pipe is installed from these items to the pump and filter. After those steps are completed, the pump, filter and optional salt system are installed.
6.) the strength and stability reinforcement
Once your pool is backfilled, three rows of rebar are attached to the top perimeter of your pool. The rebar is to connect the concrete footing/bond beam to the pool. The combination of the rebar and the concrete bond beam make the pool stronger and give a foundation to install coping stones.

7.) the beautiful finishing touches
Finally, to enhance the beauty of your pool, pavers such as travertine are glued to the top of your pool and bond beam. Once the paver coping is installed, the decking is finished, along with any landscaping and fence.
With these seven simple steps, your fiberglass pool from Imagine Pools is now completely installed. Then, your installer will ensure the site is clean and will hand it over to you. They will go over basic operation procedures with you so you can start swimming and enjoying your backyard oasis as soon as possible.
